Top 10 Ways to Position Solar Panels for Winter Efficiency

Time:2026-11-21 Author:Liam
0%

Winter changes the solar equation. The sun travels lower across the sky, daylight hours shrink, and nearby trees may cast longer shadows across a roof. Snow can cover modules, while cold weather alone does not guarantee higher energy production. Small details matter. This guide explores how to position solar panels for maximum winter efficiency, from choosing a suitable tilt to reducing avoidable shade. It focuses on practical choices homeowners can discuss with a qualified solar installer, not on promises of a fixed energy gain.

A steeper tilt may help sunlight reach panels at a more direct angle and allow some snow to slide off. But there is no universal best setting. Latitude, roof pitch, panel direction, local weather, and nearby obstructions all affect the result. A compass and a simple midday shade check offer useful clues, though they cannot replace a proper site assessment. Keep safe access and the manufacturer’s instructions in mind; do not climb onto an icy roof to clear panels. Still, tidy rules can miss messy rooflines or stubborn snowbanks. That is worth remembering. The following ten approaches balance solar exposure, snow management, and realistic site conditions, so readers can assess what may work for their own system and verify changes with measured output.
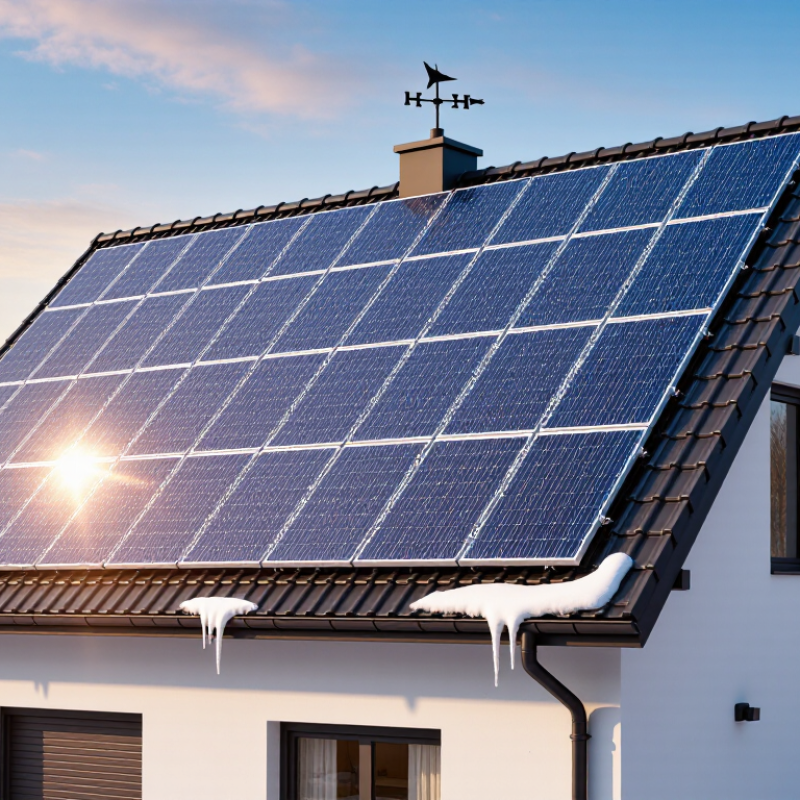
Top 10 Ways to Position Solar Panels for Winter Efficiency

Assess Winter Sunlight and the Site’s Solar Exposure

Winter sunlight sits lower in the sky, so a roof that performs well in summer may lose useful hours to nearby shade. Watch the site on clear and overcast days, especially in the morning and late afternoon. Small clues matter. Note when shadows from trees, chimneys, ridges, or neighboring buildings reach the planned panel area.

Check exposure across the winter season, not just on one convenient day. A simple log with times and photos can reveal whether a shadow moves across the roof or stays put. Solar-path tools can help estimate the sun’s position, but confirm their results outdoors; rooflines and local terrain are easy to overlook. Also distinguish true south from compass south, since magnetic readings can be off.

In the Northern Hemisphere, south-facing areas generally receive the strongest winter sun; in the Southern Hemisphere, the direction is usually north. Still, the clearest, least-shaded section may outperform a theoretically ideal direction. Record the usable sun hours and identify recurring obstructions before choosing a panel location. Snow banks, evergreen branches, and even a vent’s narrow shadow can matter. My own quick observations would not replace a site survey, and winter weather makes any estimate imperfect. If shade patterns remain unclear, have a qualified installer assess them before final placement.

Top 10 Ways to Position Solar Panels for Winter Efficiency: Assess Winter Sunlight and Site Solar Exposure

Estimated solar-noon altitude on the December solstice, assuming an unobstructed horizon. Lower sun angles make nearby trees, buildings, and roof features more likely to shade panels. Check your site’s southern horizon and local shade before choosing panel placement.

Choose the Best Direction for Winter Sun

In the Northern Hemisphere, aim fixed panels toward true south, not magnetic south. The Sun tracks low across the southern sky during winter, so a south-facing array generally receives more direct light. At the December solstice, solar declination is about 23.4 degrees south of the equator. In the Southern Hemisphere, reverse the direction and face panels north. Small compass errors matter less than nearby shade from a chimney or bare tree.

Tilt can help, but there is no universal winter angle. A common starting point is your location’s latitude plus roughly 10 to 15 degrees, which can better expose panels to the low winter Sun. Treat that as a rule of thumb, not a guarantee. NREL’s PVWatts model estimates output using panel tilt, azimuth, and local weather data; compare seasonal estimates for your own site before changing a fixed mount. Check the roof’s actual orientation, too.

Watch the shadows. A branch that clears the array in July may shade its lower edge in December, when the Sun stays low. Snow can also linger on a shallow panel. Steeper mounting may help it slide off, though wind loads and roof structure matter. NREL’s PVWatts V8 documentation uses a 14 percent default system-loss assumption, so orientation alone cannot predict delivered energy. The roof may simply limit your options. A local solar professional can assess safe mounting and winter shade.

Set Panel Tilt to Capture Low-Angle Sunlight

In winter, the sun travels lower across the sky, so a steeper panel tilt can help capture direct sunlight. NREL’s Solar Position Algorithm report gives Earth’s solar declination as roughly +23.45° to −23.45° through the year. That seasonal shift changes the sun’s noon height by nearly 47° between summer and winter solstices. A practical starting point is to set the panel angle near your location’s latitude plus 10–15°. Treat this as a rule of thumb, not a guarantee; roof direction, shading, and local weather all affect output.

Tips: Check your latitude, then raise the tilt for winter. Clear snow only when it is safe to do so. Compare settings with NREL’s PVWatts tool, which estimates production using panel tilt, orientation, and weather data. A few degrees can matter, but exact gains vary by site.

Measure the angle, rather than judging it by eye. A small digital inclinometer helps, especially on a cold roof where gloves make adjustments awkward. I would not assume a steeper setting always wins: nearby trees, a roof edge, or frequent cloud cover can change the result. Record monthly output and conditions. The comparison may be imperfect, but it is more useful than relying on a generic angle chart.

Top 10 Ways to Position Solar Panels for Winter Efficiency - Set Panel Tilt to Capture Low-Angle Sunlight

No. Positioning Method Practical Guidance Why It Helps in Winter Key Check
1 Increase the panel tilt For a fixed array in the Northern Hemisphere, a starting rule of thumb is to set winter tilt about 10–15° steeper than the site’s latitude. Treat this as a planning estimate, not a universal optimum. A steeper angle can improve exposure to the lower winter sun and may help snow slide off the panel surface. Confirm the mounting system’s permitted angles, roof constraints, and local wind and snow-load requirements.
2 Face panels toward the equator In most Northern Hemisphere locations, orient panels toward true south; in the Southern Hemisphere, orient them toward true north. An equator-facing orientation generally provides stronger year-round solar exposure, including during shorter winter days. Use true directions rather than relying only on a magnetic compass, which can be affected by magnetic declination.
3 Avoid morning and afternoon shade Check nearby trees, chimneys, roof features, and other obstructions when the winter sun is low, especially around the middle of the day. Low-angle sunlight creates longer shadows, so objects that cause little summer shading may obstruct panels in winter. Assess shading across the winter season; keep safe clearance before trimming vegetation or changing equipment.
4 Use an unobstructed winter-sun window Where several locations are available, favor the roof plane or mounting area with the clearest view of the southern sky in the Northern Hemisphere, or the northern sky in the Southern Hemisphere. A clear view of the sun’s path can matter more than a small change in tilt when nearby obstructions cast shadows. Consider the sun’s path over the full day, not only at solar noon.
5 Space rows to limit self-shading For ground-mounted or adjustable rows, leave enough separation so a front row does not shade the row behind it when the winter sun is low. Low winter sun angles lengthen shadows between rows and can reduce the light reaching rear panels. Base row spacing on site latitude, tilt, panel height, and the hours when shading should be minimized.
6 Choose an appropriate roof plane If multiple roof planes are available, compare their orientation, tilt, and winter shading before choosing a location. A less-than-ideal roof angle can still be suitable. The best practical position balances sunlight access with the roof’s existing slope and orientation. Have a qualified professional assess roof condition, attachment points, drainage, and structural capacity.
7 Use adjustable mounts where suitable Seasonal-adjustment mounts can be set steeper for winter and returned to a shallower setting for summer, if the system is designed for adjustment. Changing tilt can better match the panel angle to seasonal sun positions. Follow the mount manufacturer’s instructions and secure the array correctly after every adjustment.
8 Keep a clear path for snow shedding Where snow is common, avoid positioning panels so sliding snow blocks doors, walkways, vents, or access routes. Do not assume a steeper panel will shed all snow. A steeper tilt may encourage snow to slide, while thoughtful placement can reduce hazards if it does. Follow local snow-load and fall-protection requirements; avoid climbing onto a roof to clear panels.
9 Consider a suitable ground-mounted location When roof orientation or shading is restrictive, compare a compliant ground-mounted position with a clear view of the winter sky. Ground mounts may allow more choice in orientation, tilt, row spacing, and access for inspection. Check local permits, setbacks, drainage, soil conditions, and exposure to snow or wind before installation.
10 Verify orientation and tilt after installation Measure the installed tilt and orientation, then compare system production with expected seasonal conditions. Account for weather, daylight hours, and snow cover. Verification can reveal installation deviations or unexpected shading that simple visual checks may miss. Use qualified assessment tools or an installer; do not alter a mounted array without confirming it is safe and permitted.

Reduce Shade from Trees, Buildings, and Snow

Winter shade can cost more than a few gloomy afternoons. A bare tree may still cast long shadows across a roof when the sun sits low. Check the array around midmorning and midafternoon, not just at noon. Trim only where appropriate, and consider whether nearby buildings or roof features block winter sunlight. Small shadows matter.

The National Renewable Energy Laboratory’s PVWatts model uses a default 14% allowance for combined system losses, including factors such as snow, shading, and wiring. That figure is not a shade estimate for your roof. It is a reminder that several modest losses can add up. A site-specific shade assessment is more useful than guessing from a summer photo.

Snow needs its own check. NREL field research on photovoltaic systems in snowy conditions reports annual snow-related losses that vary widely by site, from negligible levels to around 10% in some cases. Steeper panel angles can help snow slide off, but roof shape, wind, and freeze-thaw cycles change the result. Keep vents and access paths clear, and never climb onto an icy roof to clear modules. I would not treat any single tilt angle as a guarantee; local winter observations matter more.

Adjust Panel Position for Seasonal Conditions

In winter, the sun travels lower across the sky, so a summer panel angle may capture less direct light. For a fixed installation, a steeper tilt can help: a common starting point is your latitude plus about 10 to 15 degrees. Treat that as a guide, not a rule. Local roof pitch, nearby hills, and cloudy weather all change the result. In the Northern Hemisphere, panels generally face south; in the Southern Hemisphere, they generally face north. Check the direction of the roof before changing anything.

A small adjustment can matter. On a clear December morning, notice whether a chimney or bare tree casts a narrow shadow across the panel; even partial shade can reduce output. Steeper panels may also shed snow more readily, though wet snow can cling. Keep access paths clear, and never climb onto an icy roof. Use only adjustment points and angles allowed by the mounting system. A professional installer can assess wind loads and roof structure, especially for seasonal repositioning. One imperfect detail: the ideal angle may vary from month to month, and frequent changes are not always worth the effort. Track daily output for a few weeks before deciding.

FAQS

Why should I check a roof’s sunlight during winter?

The sun sits lower, so nearby trees, chimneys, and buildings may shade panels for longer. Watch the roof on clear and cloudy days.

How can I track shadows around a planned panel area?

Take photos in the morning and late afternoon across several winter days. Note when shadows reach the roof and whether they move. One day is not enough.

Which direction should panels face in winter?

In the Northern Hemisphere, south-facing areas usually receive stronger winter sunlight. In the Southern Hemisphere, north-facing areas generally do. A clear, unshaded section may still work better.

What panel tilt can help capture lower winter sunlight?

A starting point is your location’s latitude plus about 10 to 15 degrees. It is only a guide; roof pitch, shade, and clouds affect results.

Should I change a fixed panel’s position for winter?

A steeper tilt may capture more direct sunlight and help snow slide off. Wet snow can still cling. Check the mounting system before making adjustments.

Can small obstructions reduce panel output?

Yes. A narrow shadow from a vent or bare tree can affect a panel. Check the roof at different times, not just at noon.

How can I tell whether a new tilt is helping?

Record daily output, weather, and panel settings for a few weeks. The comparison will not be perfect, but it beats guessing.

Is it safe to clear snow or adjust panels on an icy roof?

Never climb onto an icy roof. Use safe access, and ask a qualified installer to assess roof structure, wind loads, and seasonal adjustments.

Conclusion

Improving solar panel performance in winter starts with understanding how sunlight reaches the site. Observe the sun’s path, note nearby obstacles, and identify areas that receive the most direct light during shorter days. In the Northern Hemisphere, panels generally benefit from facing south; in the Southern Hemisphere, north-facing placement is typically preferable. The best orientation can still depend on local conditions, so compare available exposure throughout the day.

To determine how to position solar panels for maximum winter efficiency, consider a steeper tilt that helps capture the lower winter sun. Keep panels clear of shade from trees and buildings, and remove snow safely when it blocks sunlight. Since the sun’s angle changes with the seasons, adjusting panel position for winter can improve energy collection, while returning to a suitable setting in warmer months can support year-round performance. Regularly checking orientation, tilt, shade, and surface conditions helps make the most of available winter sunlight.

Liam

Liam

Liam is a dedicated marketing professional with a profound expertise in the industry, where he excels at highlighting the unique advantages of our core products. With a keen understanding of market trends and consumer needs, Liam frequently updates our company’s professional blog, providing......